Showing posts with label Terrain. Show all posts

Monday, September 10, 2012

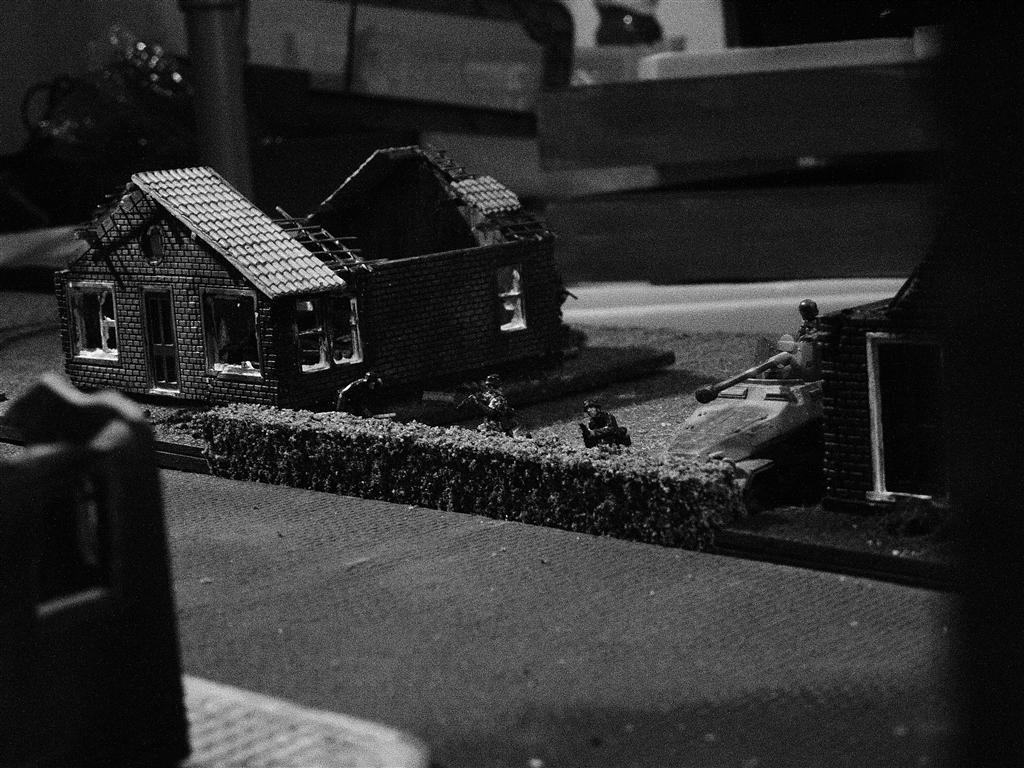
Another ruined home...

Here's another ruin I recently finished:


 Well, Helga won't dry any shirts here anymore :-/


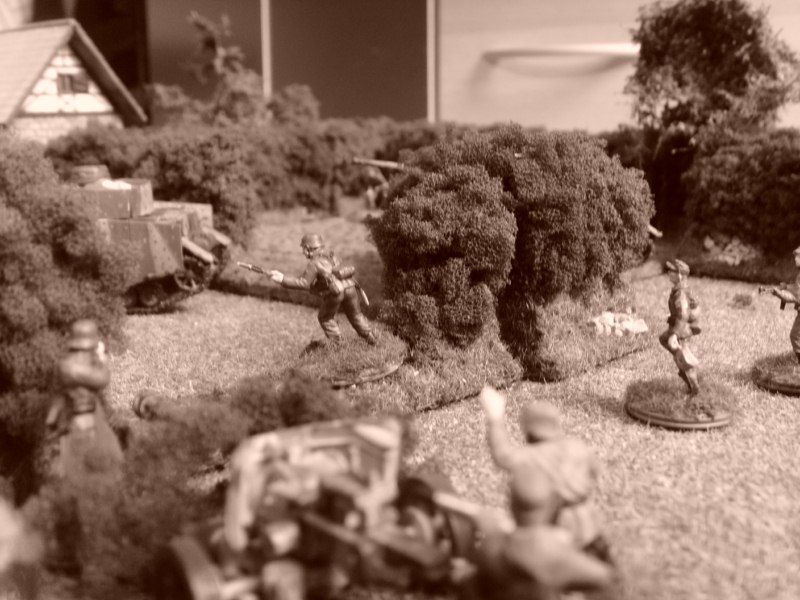
And finally some scenic shots:


Have a nice start in your new week!

Regards,
Mojo

Friday, September 7, 2012

Oh look! It burned!

I already told you that the guys at the forum "got wild" on the missing evidence of fire and the lack of dirt.
I tried to catch that up and it seems, it worked pretty well... Have a look:


I'd like to welcome the laughingferret to my blog! Glad to have you here :)
If you haven't already done so, take a look at his own blog: The laughing ferret lab !

Regards,
Mojo

Thursday, September 6, 2012

School's out for Summer!

Everybody knows it, the good ol' Alice Cooper song:

School's out for summer!
School's out for ever!
School's been blown to pieces!
http://www.youtube.com/embed/OUugQoxS8_o…ayer_detailpage

I had to think of it while searching the shoe box full of broken Linka casts that I received from the fore-owner of my moulds. He had stated he'd give me a huge pile of prefabricated parts, so I could start building instantly. Well unfortunatly most parts didn't survive the odyssey. However, one can still start building with it :D

He had started some kind of house, that doesn't look like a residence.
During paintig, some walls must have broken, so he decided to drop it to the spares box. The paintjob was neither nearly finished nor perfect. Since I didn't know what colors he used, I decided to make a ruined school of it. I had only the walls, broken into several pieces.

I added a base, a pedestrian precinct, a roof-construction and some shingles and lots of broken interior and details like an outhouse, broken glass and so on.

Here's what came out:


I got my as* spanked a the forums for not featuring any evidence of fire inside the building, so I'll have that added at some point in the future...

Hope you like it though!

//mojo

Thursday, August 9, 2012

The corner shop Part III

After one more week of work I've eventually finished the cornershop. Almost.
I don't dare making the signs yet, I'll have to practice before ;-)

I ruined the paintjob of one house side an decided to cover it with plants...

The nicer side

 The garden

More scenic shots...


Two lazy Panzer men...


I'll be gone for two weeks now... Headin' to southern france :) Hello Sun! :)
I hope you'll all have a good time!

Regards,
Mojo


Monday, July 30, 2012

The corner shop Part I (Linka World Moulds)

Well, here we are again, back from Space, diving right into WW2 scenery stuff :)


It's been a while ago when I had the chance to get my hands on some moulds of a company called Linka (World).
One of my forum mates over at www.boforum.de sold some for around 6€ per piece and I got two of them.

Wait a minute. Whats Linka?
Linka World (website here: http://linkaworld.com/index.htm) is a company from the US, making moulds of modular wall- and roofsections for 20mm gaming or modelmaking. I've seen moulds on ebay whose owner wrote that the product would be 30 years old. Well that'd be quite a history for a company making stuff like that :)

Over here(Germany), the moulds are  pretty expensive with about 15€ pp., but I was lucky enough to find someone selling a bunch of 7 moulds for 50€! What an opportunity! But thats not enough. I suggested a price of 45€ (always trying, when possible), and he told me, if I'd pay the 50, he'd pack several hundrets of ready-cast parts in the packet. Allriiiight!

After an odyssey with a german parcel service which uses the name of the greek messenger of the gods (failed to give the parcel to one of my numerous neighbours 2 times...) the cast parts were mostly crapped...

Well this is what I got (along with the 2 moulds I already owned):
(Sorry, I was so eager for action that I forgot to take pictures before making the first cast... You might check the website above for better images and more moulds)
And this is the result of my first cast with 2x80 grams of stewalin (a very hard ceramic casting mass):
Pretty nice :) Unfortunately you still have to invest lots of time to deflash all the parts, especially between the teeth. If you don't, parts won't fit or even break while you're trying to fit 'em.
But thats not too bad: It's a perfect task while you're waiting between two World of Tanks matches ;)

Here's what I first made:
This is going to be a brick factory some day. After glueing the first parts together (using wood-glue), I realized how big this thing is going to become and decided to skip it for a while. I'd better start with something smaller...

So this is the beginning of what we call a "Tante Emma-Laden" (Aunt Emmy's Store):


I guess I might be back in blogging-bussiness now :) At least I hope so!

Last but not least: A warm welcome to my new followers. Damn, I can't even tell how "new" you are :D
$peedY ( Soldiers of Honor)
Michel (0ne of the few bloggers I know personally. Nice Chap, makes great 20mm figures!) ( Michels Miniaturen)
András Szilvásy (Random&Creative)
James Barry(No blog?)
Stephan Reber(No blog?)

Have a nice time! I'll try to keep you updated with this cool linka-stuff!

Cheers,
Mojo

Wednesday, September 14, 2011

Game-Table Progress #3

On monday night I was finally putting the grass on my modules.
Some hours and grass-bags later most of the work was done:

Monday, September 12, 2011

Game-Table Progress #2

The exhibition in Mainz is coming nearer. Just 5 days to go!
Since my last post (nearly 4 weeks ago) I managed to move to an other flat and proceeded working on the gametable-sections:


I just need to get some grass on it :)

Cheers, Mojo

Tuesday, August 9, 2011

Game-Table Progress

Currently I am working on a gaming table for a modelling exhibition in Mainz, Germany in mid September.
The table will be about 1,20 * 1,80m in Dimension and shall feature the behind omaha game.
Here's what I got so far:
Cast Roads are glued on, roadside ditches are dug out, and cart tracks are carved into the boards. Next up will be the sanding and painting, afterwards the grass willbe applied.
Cheers, Mojo

Thursday, July 28, 2011

These goddamn bocages...

...are done! :)

One of the large sections

Enjoy the following test shots... Click to enlarge your P...icture of choice.


Well, it looks like my last post brought me some followers!
Please welcome and visit...
roussel68, dont't throw a 1
Dan, Gunners Wargaming
Matt, Blood, Fire and Death
Rhinexing, Rhinexing's 15mm Pillbox
choms1337, car - not only fast :)  (If you got a wargaming-related blog, tell me, pal :) )

Cheers,
Mojo

Tuesday, July 19, 2011

On a budget?

If you are on a budget but feel some urgent need for neat wargaming terrain, this might be something for you.

As you might have seen in my last post, I was going to make some bocages. The "soldering" method is nice, but it's looking quite rough, unlovely and unfinished. I was in need of some coverage. Everybody uses this immensely expensive clump foliage... 15€ for a bag with one litre wich will be used up completely on one single bocage? No. Thanks not for me. I'll try something different!

In a forum where I use to roam, somebody posted a link to a model railroad website with some useful hints.
I assume that some of you are looking on sites like this to because railroad modellers are far ahead of us wargamers when it comes to terrain. Well, some of you will surely not have peeked at them yet. So let me share this with you!

What do you need?
An old kitchen mixer (Mine was inherited by my granpa ;-) )
Some green wall-colour (emulsion-paint), maybe some white and some black to shade it.
A bit of foam material (the smaller the pores, the better)

To clearify things: I don't mean stuff like polystyrene-foam, more the foam thats under your bum, when you're sitting on your couch ;) Even better: Foam from an old car-seat! This stuff is pretty fine :)

Ok, lets go!
Cut the foam in pieces of about a cubic inch (2,5x2,5cm).
You won't need very much of it for one mixing run. Compare it with the 1/72 figure ;-)
Now put some of it in the mixer. Not all of it. Split this second step up in 2 or 3 smaller steps.
Now push the button! You'll notice, that the foam will be ripped apart. The longer you go, the smaller the foam goes. As said before, split the above amount up, rip a part up, evacuate it, and do the same with the next bit.

Next step: Colour!
Now put all the mixed  foam in the mixer. Add some colour! You won't need much of it! This mixer filled with a 3/4 litre of foam did not need as much as a shooter glass of paint! It's very economic ;)
 Let it go round and round again. The foam gets even smaller and is almost instantly green...
Now pour it out on some baking sheet and leave it to dry for one day. Clean the mixer, if you like to do this again ;)
What you see here is about a quater of an hours work(foam only, of course :-P):
And here's one finished bocage for you:
Yeah, the colours are somewhat odd... I know. I'll do better next time ;)

I hope you liked it!
Cheers, Mojo

Ahh, stop!
@Thomas: Thank you for the hints! I'll try that next time! 
@Bard: Welcome to my blog :)
@All: Visit these guys' blogs if you haven't already done so ;-)